
Rolled your ankle? It’s frustrating when a sore, stiff joint makes walking or training harder. Ankle sprain rehabilitation exercises should build in stages, from gentle movement to strength and balance, with sport drills saved for later.
Use this as a general guide, not a diagnosis or a personal rehab plan. The right pace depends on your symptoms and injury.
Step 1: Check Safety and Set Up the Early Rehab Phase
Goal: Make sure home exercise is a sensible next step, then give the ankle a calm start.
A sprain can range from a mild stretch of a ligament to a more serious injury. You can’t tell how severe it is just by looking at swelling. If you’re unsure, arrange an assessment with a GP or physiotherapist before you start loading the ankle.
Seek prompt medical care if you can’t put weight on the foot, have severe pain, or notice a clear change in the ankle’s shape. Get urgent help for an open wound, new numbness, or a foot that’s cold or blue. These signs need medical review, not a home exercise test.
In the first few days, ease off activities that make symptoms worse. When it feels manageable, try short bouts of gentle movement and supported walking. Don’t force a shoe or brace onto the foot if it increases pain. A chair or bench nearby can help you steady yourself while you move.
For now, use the ankle’s response as your guide. Mild discomfort may be tolerable, but sharp pain or a clear rise in swelling means ease back. If symptoms keep getting worse, stop the exercise and speak with a health professional. General ankle sprain rehabilitation guidance also says to start slowly and adjust activity if pain rises beyond mild levels.
Set up in a clear space with a stable chair, a towel and, later, a resistance band. Keep a note of what you did and how the ankle felt afterward. That gives you a simple way to spot whether a change in exercise load is too much.
Think in three broad phases: early movement, strength and balance, then faster tasks. These phases aren’t tied to fixed dates. You might need to stay with one phase longer, or return to an earlier one if symptoms flare.
At Results Based Physio, a physiotherapist can assess the ankle and shape a recovery plan around your starting point. For now, the first milestone is simple: gentle movement feels manageable, and you know when to stop.
Step 2: Restore Gentle Ankle Movement and Range
Goal: Get the ankle moving within a comfortable range, without pushing through pain.
Sit with your leg supported. Slowly point your foot away, then bring your toes back towards your shin. Keep the movement small at first. If it feels comfortable, draw a few letters of the alphabet in the air with your big toe. Improve your time and stop if the motion brings on sharp pain.
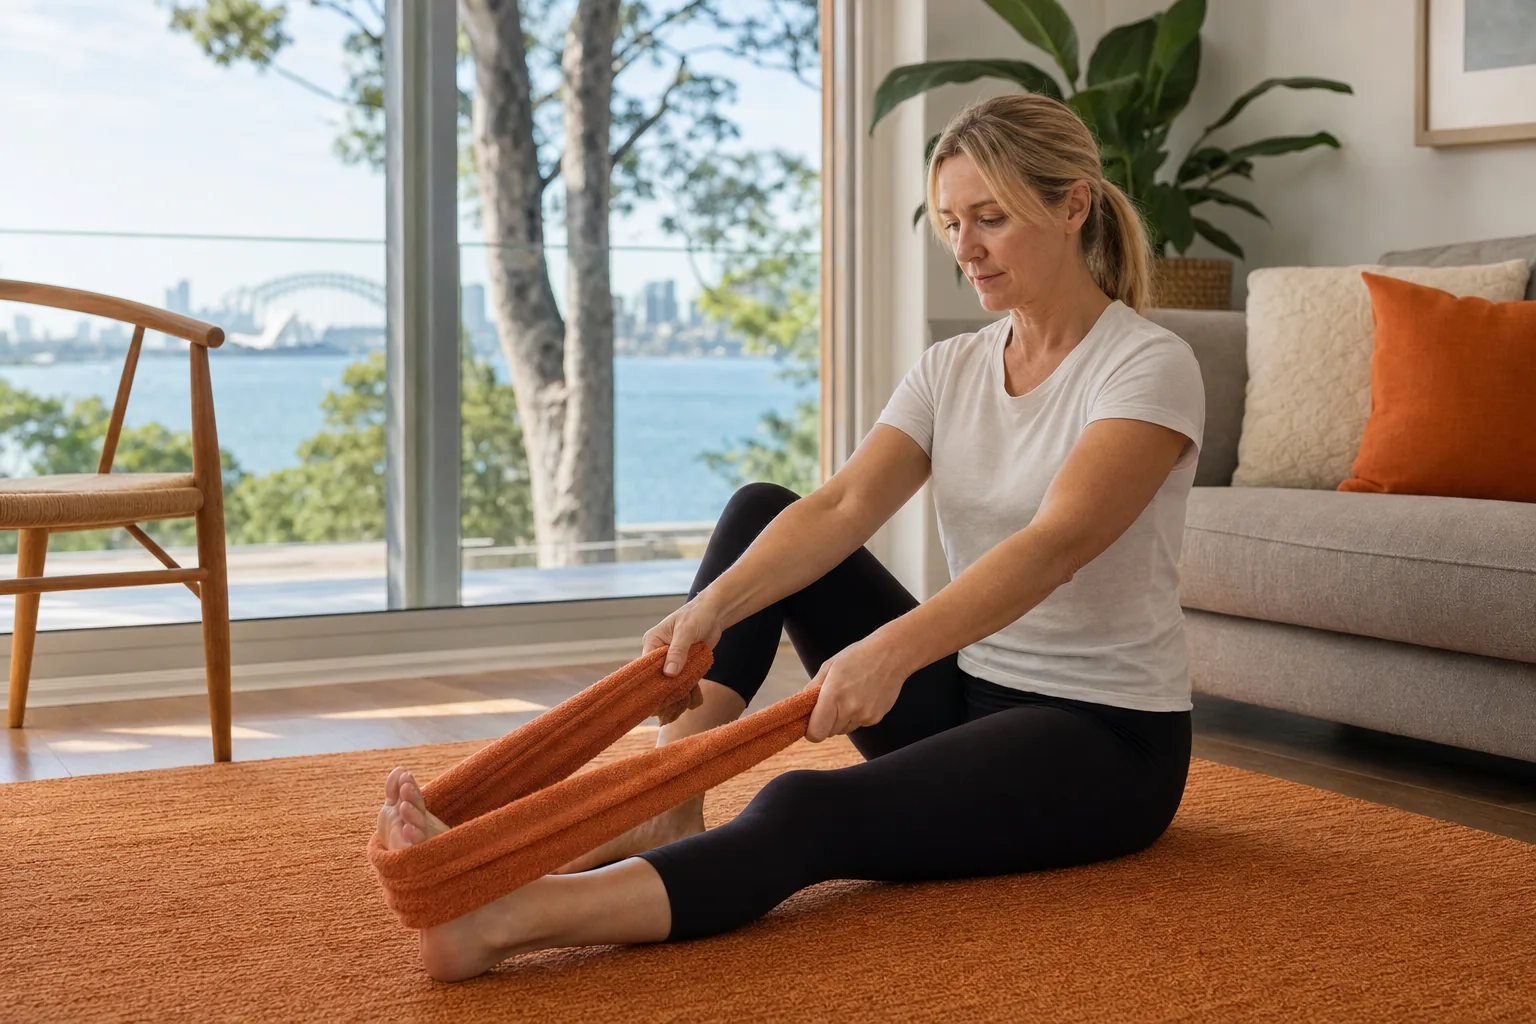
Next, try a gentle calf stretch. Sit with your leg out in front and loop a towel around the ball of your foot. Hold the ends and draw them towards you until you feel a mild pull in the calf. Don’t yank the towel or force the foot farther than it wants to go.
A standing calf stretch can come later, once putting weight through the ankle feels manageable. Face a wall and place the sore leg behind you, with the heel down. Lean forward a little. Keep the stretch mild, and stop if pain rises. A bent-knee version changes where you feel the stretch, so try it only if the first version is comfortable.
Try a knee-to-wall movement to check how the ankle bends. Face a wall with the affected foot in front. Keep the heel down as you gently move the knee towards the wall, then ease back. Move the foot closer only if you can keep the heel down without pain. This movement can help you see how much forward ankle bend you can manage during a walking-like task.
A simple routine is enough at first. Do a few slow ankle movements, pause, then see how the ankle responds. Increase the range before you increase the number of repeats. Don’t chase the uninjured side’s movement if doing so causes pain.
Exercise guidance advises starting slowly and using pain as a guide. Follow any different instructions from your own clinician, since exercise timing can vary with the injury and your needs.
Milestone: You can move the ankle through a slightly larger range without a lasting rise in soreness or swelling. That’s a cue to discuss adding strength work, not a reason to rush into hops.
Step 3: Build Ankle Strength with Bodyweight and Resistance
Goal: Gradually load the muscles that move and support the ankle.
Start when standing feels manageable and the ankle doesn’t swell more after basic movement. Begin with light effort. A resistance band is useful, but you can also start with gentle movements against your other foot or with no resistance.
For ankle pumps, sit with your leg supported and point the toes away, then draw them back towards you. For a four-way band routine, work through these directions one at a time:
- Pull the toes up towards your shin.
- Press the foot down as if easing onto a pedal.
- Turn the sole gently inward.
- Turn it gently outward.
Keep the band light enough that you can control both directions. Don’t let it snap the foot back. If turning the foot in or out is painful, skip that movement and check with a clinician before trying again.
Next, try seated heel raises. Keep your feet on the floor, lift your heels, then lower them slowly. If that feels easy and comfortable, try standing heel raises while holding a bench or the back of a sturdy chair. Share your weight between both feet at first. Later, you may be able to shift more of your weight onto the injured side.
Toe raises work the front of the lower leg. Stand with your back near a wall or hold a stable support. Keep your heels down and lift the front of your feet. Lower them with control. If balance is uncertain, do this seated instead.
How many repetitions? There’s no one number for every sprain. Some exercise instructions use sets of 10 to 15 repetitions, while other routines use a different dose. Treat those numbers as examples, not a target you must meet. Start with a small amount you can do with control. Stop when your movement gets less steady or pain increases.
To progress, change one thing at a time. You might add a few repetitions, use a slightly firmer band, or do a standing version. Give the ankle time to respond before changing another part of the routine. If soreness or swelling is clearly worse later that day or the next morning, return to the last amount that felt manageable.
Exercise-based rehabilitation can be part of ankle sprain recovery. The exercises in this guide are general examples; a clinician can help decide which movements and dose fit your symptoms.
Results Based Physio combines hands-on physiotherapy with individual recovery plans. Its strength and injury rehabilitation service includes tailored exercise programs for joint and ligament injuries.
Milestone: You can complete the current strength work with steady form, and your ankle settles back to its usual level after the session.
Step 4: Retrain Balance and Proprioception
Goal: Practise control while the ankle supports your weight.
Balance is a skill, and it often needs practice after an ankle sprain. Start beside a bench or kitchen counter, on a firm, flat floor. Stand on both feet, then shift a little more weight onto the sore side. If that feels steady, lift the other foot for a brief single-leg stand. Keep a hand close to the support.
Build time gradually. Focus on standing tall, keeping your foot planted and breathing normally. Don’t close your eyes or stand on a cushion until you can balance on a firm surface with control. An unstable surface makes the task harder and can raise the chance of a fall.
When single-leg standing feels steady, try heel-to-toe walking along a clear path. Take slow steps and keep a wall or bench nearby. You can also try a clock reach: stand on the affected leg and lightly tap the floor in front, then to the side, with the other foot. Keep the reaching distance small at first.
A wobble board or balance pad isn’t needed to begin. If a clinician suggests one, start with both feet and hold a stable support. Progress to one foot only when you can control the board and your ankle feels settled. Don’t use a board on a slippery floor or near furniture with sharp edges.
One common mistake is adding a challenge before the basic task is steady. If your ankle wobbles hard, your knee turns in, or you need to grab the support, make the task easier. Return to a two-foot stance or shorten the single-leg hold. Balance training should feel like a challenge, not a scramble to avoid falling.
Results Based Physio’s physiotherapy care in Albert Park includes assessment and exercise planning for ankle and foot concerns. If you’re unsure whether balance work suits your injury, an assessment can help clarify the next step.
Milestone: You can stand on the affected leg with control and perform a few small reaches without pain rising. Keep the support close as you progress.

Step 5: Progress to Dynamic and Sport-Specific Drills
Goal: Prepare the ankle for faster movement only after basic strength and balance feel controlled.
Walking without a limp is a useful step, but it doesn’t show how the ankle will cope with a run, a jump or a quick change of direction. Start with tasks that add speed or force in small amounts. If normal walking still hurts or makes you limp, stay with easier work and ask a health professional for advice.
Begin with brisk walking on a flat surface. If that feels comfortable during the walk and afterward, you can try short intervals of easy jogging. Keep the first session brief and predictable. Avoid hills, uneven tracks and sharp turns until straight-line movement feels settled.
Next, add small two-foot hops in place. Land softly with your knees slightly bent. Hold your landing for a moment. If the ankle stays steady, try a small forward hop, then a sideways hop. Use a clear, non-slip area and keep a wall or sturdy support close by.
Single-leg hopping is a later step. Start with a few low hops in place, not repeated high jumps. Stop if you feel sharp pain, your landing becomes uncontrolled, or the ankle feels as if it may give way. Don’t practise hops while tired or on a surface that shifts underfoot.
For sport, match the drills to what you actually do. A court sport may call for short side steps and controlled changes of direction. Running may need longer steady strides before faster bursts. A field sport may add a ball or a reaction cue later, once simple movement is controlled.
Progress one demand at a time: speed, distance, number of repetitions or complexity. For example, keep the route straight when you first increase jogging speed. Add turns in a later session if the ankle settles well. A sudden jump from walking to a full training session makes it harder to tell what the ankle can tolerate.
Keep track of your response during the drill and after it. Mild effort is expected, but sharp pain or a worsening limp is a sign to stop. Swelling that increases after a session is another reason to reduce the next dose and consider getting advice.
Milestone: You can complete the current drill with control, and your ankle remains settled afterward. Only then move to a faster or less predictable task.
Step 6: Check Readiness Before Returning to Sport
Goal: Base your return on how the ankle performs, not on a calendar date alone.
Feeling better is encouraging, but it doesn’t automatically mean the ankle is ready for full training. Before returning, check how it handles the movements your sport asks of it. Consider pain during and after exercise. Also consider ankle movement, strength and balance.
Ask yourself:
- Can you walk briskly without a limp?
- Can you stand on the affected leg and control a small reach?
- Can you do the current strength exercises with steady form?
- Can you hop and land with control, if your sport requires it?
- Does the ankle stay settled after these tasks?
These are prompts, not a pass-or-fail test. A person returning to social walking has different demands from someone who needs to sprint, land or cut sharply. If a test feels uncertain, don’t repeat it to prove you can do it. Get advice on how to build up safely.
A graded return usually means starting with a lower training load, then adding one part of the session at a time. You might begin with warm-up drills and straight-line movement. Later, add faster work or direction changes. A full training session and competition are separate steps, not the same milestone.
For sports with quick turns or contact, ask a physiotherapist to review strength, movement control and confidence. A clinician can also consider whether taping or a brace is appropriate for your activity. Don’t use support as a reason to skip the exercise stages.
Some online routines focus on balance, but balance is only one part of the plan. Strength and movement control matter too, especially when your activity involves landing or changing direction. If training brings back swelling or a limp, step back to the last level that felt manageable.
At Results Based Physio, an assessment can help you map your current ability to the demands of your sport. No single home test can guarantee that an ankle is ready for competition.
Milestone: You can complete the movements your activity needs at a controlled level, with no meaningful flare during or after the session. Increase sport exposure in stages.
Step 7: Reduce Re-Sprain Risk and Avoid Common Setbacks
Goal: Keep building ankle capacity while avoiding sudden jumps in training load.
Continue strength and balance work after daily walking feels easier. Ankle exercises can stay in your weekly routine as you return to sport, but the amount should fit your activity and symptoms. You don’t need to keep doing every early-stage movement forever. Keep the exercises that address your current needs.
Before a session, allow time to warm up with easy movement. Then build speed and direction changes in steps. If you’re returning to a sport on grass or an uneven surface, practise those demands gradually rather than making the first session a full game.
Some athletes use tape or an ankle brace during sport. These supports may be worth discussing with a physiotherapist, especially if the ankle has sprained before. A support doesn’t replace strength work or balance practice, and it may not suit everyone. Get guidance on fit and use rather than copying someone else’s setup.
Common setbacks often come from doing too much too soon. Watch for these patterns:
- Skipping strength: Balance work alone doesn’t train every movement direction. Keep suitable strength exercises in the plan.
- Forcing a painful stretch: Reduce the range or stop. A stronger stretch isn’t automatically more useful.
- Adding several challenges at once: Change one part of the session, then check how the ankle responds.
- Returning to full sport too soon: Build from controlled drills towards the pace and movement demands of your activity.
If the ankle remains unstable, repeatedly gives way, or stays swollen despite easing the workload, arrange an assessment. A health professional can check whether the plan needs to change or whether another cause needs attention.
Results Based Physio provides hands-on physiotherapy alongside individual exercise plans. Its post-session care guidance explains how home exercises can fit around treatment, with advice shaped by the type and location of an injury.
For Albert Park and nearby South Melbourne residents, a physiotherapist can help review your movement and adjust the exercise plan as you progress. That’s especially useful when you’re not sure whether a flare means “ease off” or “change the exercise”.
Frequently Asked Questions
When should I start exercises after an ankle sprain?
You can often begin gentle ankle movement when it feels manageable, but timing depends on the injury. Start with small, slow movements and avoid forcing the foot. If pain is severe, you can’t bear weight, or symptoms are getting worse, seek medical advice before starting a home programme.
Should ankle exercises hurt?
Exercises shouldn’t cause sharp or rising pain. Mild discomfort may happen, but ease off if pain increases beyond mild or swelling gets worse. Stop if the ankle feels unstable or your movement becomes uncontrolled. If symptoms don’t settle after reducing the effort, ask a GP or physiotherapist for guidance.
How many repetitions should I do?
There isn’t one repetition count that suits every sprain or every stage. Some exercise examples use sets of 10 to 15 repetitions, but your starting point and symptoms matter more than copying a number. Begin with a small amount you can do with control, then increase one part at a time.
When can I return to running or sport?
Return when your ankle can handle the movements and effort your activity needs, not just when a set number of days has passed. Build from walking to faster drills, then to sport-specific tasks. If you limp, feel unstable or have a symptom flare, step back and seek advice before increasing the load.
When should I see a doctor for an ankle sprain?
Seek prompt medical care if you can’t put weight on the foot, have severe pain or see a clear change in the ankle’s shape. Get urgent help for an open wound, new numbness, or a cold or blue foot. If pain or swelling keeps worsening, contact a GP or another appropriate health professional.
Getting Help at Results Based Physio’s Albert Park Clinic
If your ankle is still sore, stiff or hard to trust, consider an assessment at Results Based Physio, Shop 4, 36/44 Mills Street, Albert Park. A physiotherapist can assess your movement and discuss a plan that combines hands-on care with individual rehabilitation. You can book an assessment at the Albert Park clinic to talk through your next steps.
